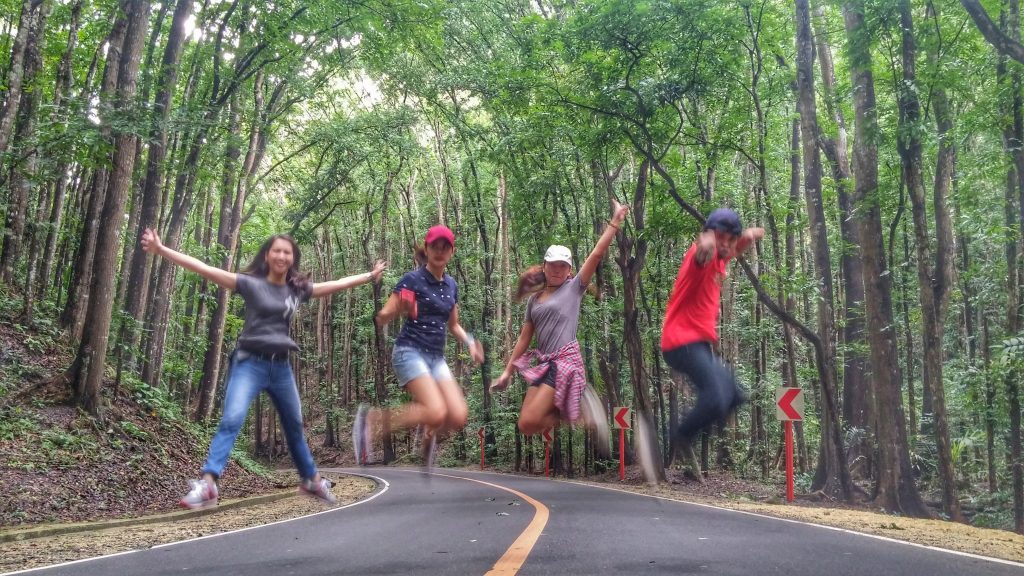
The activity I once dabbled in just for the thrill and some epic summit selfies has now turned into a favorite pastime for me and my friends. Not only is it a fantastic workout (imagine all the bending and crawling—phew!), but it’s also an incredible way to refresh your outlook and bond with Mother Nature.
Climbing mountains isn’t just about reaching the top; it’s about transforming the way you see the world around you.
Related post: How Climbing Mountains Can Help You


Just this past February, a close friend invited me to tackle a ‘twin day hike’ in San Miguel, Bulacan. The idea of a twin hike piqued my interest—two mountains in one day? Sign me up! Stepping up from one mountain to the next felt like leveling up in a game.
Conquering both peaks in a single day? Yeah, that sort of makes me feel like a legit mountaineer. Just kidding! But honestly, it’s an exhilarating challenge that pushes you further than you’ve gone before.
Preparation and Beginning of the Hike
[metaslider id=”7698″]
On that crisp February morning, a band of 14 of us, including me and a couple of friends, set out from Alabang. It took us about four hours, pit stops included, to reach our destination in San Miguel, Bulacan.
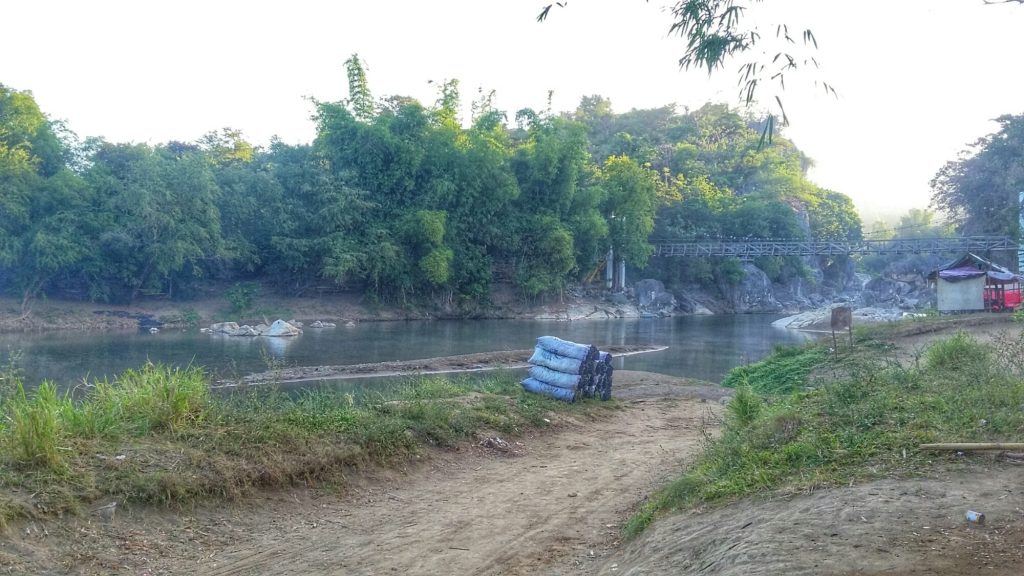
As we arrived at Sitio Madlum, the stunning sight of Madlum River nearly convinced me to ditch the hike and dive into a day of swimming instead. Luckily, the chilly morning air and the camaraderie of the group kept me on track for the actual adventure.
By 7 a.m., we were at the barangay office, registering and absorbing the crucial dos and don’ts for our hike. This took about half an hour of formalities, but it was all part of the journey. The officials at Sitio Madlum, recognizing the size of our group, assigned us two local guides.
Sir Alex led the way, and Sir Jay brought up the rear as our sweeper guide, with the rest of us sandwiched in the middle. This setup turned out to be perfect for sharing laughs whenever our guides cracked jokes, making the whole experience a lot more fun.


Right at the start of our hike, we were greeted by concrete stairs lined with crosses. Initially, it felt a tad spooky, but that feeling quickly shifted as we passed a mini grotto. It seemed as if we were being ushered in with blessings and prayers for a safe and guided adventure.
Next, we ventured through the small but intriguing Madlum Cave. For those not in the know, this cave was a filming location for “Mulawin,” a popular fantasy series on GMA 7. Inside, we tiptoed around, mindful of the cave bats dangling from the ceiling—nobody wanted to be the one to disturb their peaceful hangout!
Emerging from the cave, a refreshing sight awaited us—a river. Crossing it was like a natural spa treatment; the ice-cold water rushing over our feet was utterly soothing. Ah, the simple joys of being immersed in nature!
[metaslider id=”7654″]


Sir Jay initially wanted us to climb Mt. Manalmon first, but our guide had a different strategy in mind. He recommended we start with Mt. Gola, pointing out a particular area on the trail known as the “Barbeque.”
Given the name, it didn’t take much to guess why—it was an exposed stretch that would be merciless under the midday sun. Taking his advice, we decided to conquer Mt. Gola while the morning was still young and cool.
Hiking Up Mt. Gola

Tackling Mt. Gola proved to be a challenge with its unique obstacles. For starters, there was the “spider area,” as our guide called it, rumored to be teeming with spiders. Fortunately, we didn’t run into any, which was a relief for everyone.
The real test came when we reached a section of the hike that required us to climb a steep, rocky slope. It was akin to wall climbing, just without the safety of a harness. Every step needed to be measured and careful— a misstep could potentially send you and others tumbling down like dominoes.
After conquering the slope, we arrived at the infamous “Barbeque” area. Here, the ground was covered with black rocks, resembling large chunks of charcoal. This striking landscape not only lived up to its name visually but also hinted at the scorching heat it could radiate under the sun, just like a barbeque grill.
[metaslider id=”7621″]
After conquering the slope, we arrived at the infamous “Barbeque” area. Here, the ground was covered with black rocks, resembling large chunks of charcoal. This striking landscape not only lived up to its name visually but also hinted at the scorching heat it could radiate under the sun, just like a barbeque grill.
Just a short walk later, we triumphantly reached the summit of Mt. Gola—what a moment! We took some time just to soak in the stunning views, appreciating the vast landscapes below and marveling at how high we’d climbed. Of course, we couldn’t pass up the chance for a photo session; capturing these achievements is a must!
Given that we were on a twin hike, we were quite mindful of the time. Aware of the intense heat that noon could bring, we didn’t linger too long. After a brief rest, a few snapshots, and a moment of tranquility with nature, we quickly started our descent from Mt. Gola, aiming next for the summit of Mt. Manalmon.
We retraced our steps down the same trail and back across the river, ready for the next part of our adventure.
[metaslider id=”7633″]
Mt. Manalmon Climb

Choosing between the easy and hard trail on Mt. Manalmon was a no-brainer for our group of thrill-seekers—of course we went for the hard trail, eager to maximize our adventure. This route challenged us with a steep 70-degree ascent, putting our legs and knees through the ringer. Thankfully, our physical stamina matched our eagerness to reach the top.
Admittedly, I had to pause occasionally for a quick breather—maybe it’s a hint of aging creeping in (LOL), or maybe it’s just the mountain’s way of reminding us to take it slow.
About 30 minutes to an hour later, we made it to the summit! Thank you, Lord!

There was already a group at the top taking their victory photos, so we found a shady spot to rest and catch our breath. While we relaxed, our guide entertained us with tales of Mt. Manalmon—apparently, it’s named after a story involving two lovers.
Though I can’t recall the details (oops!), it’s a perfect excuse for you to visit and discover the legend yourself. Trust me, it adds a whole layer of intrigue to the hike!
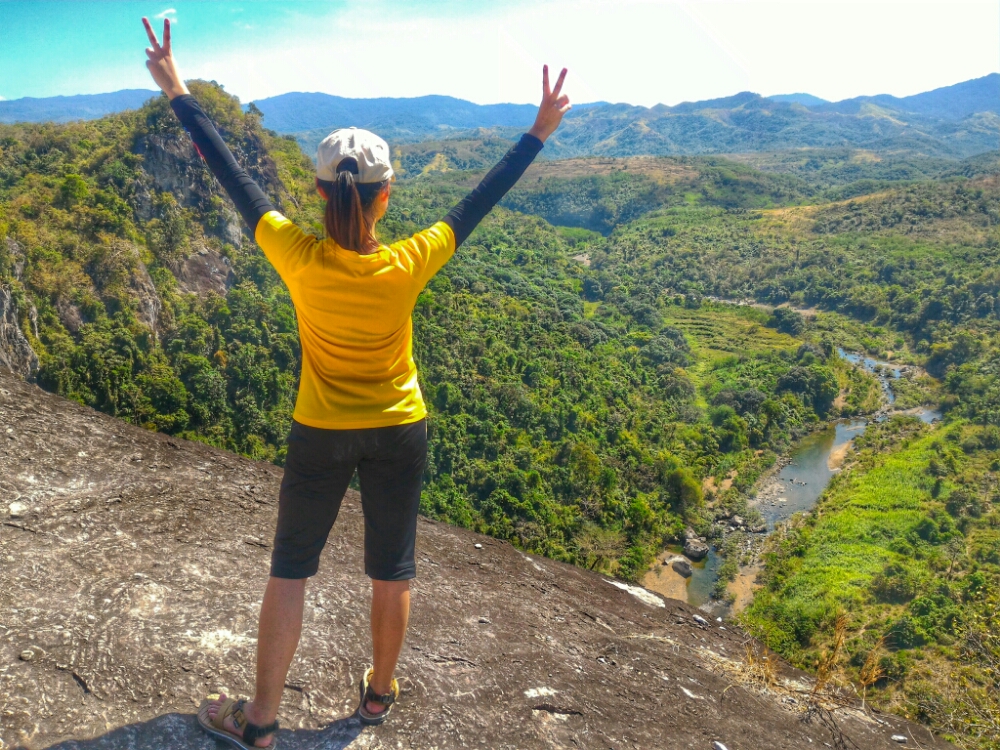
Finally, it was our turn to soak in the breathtaking views from the summit of Mt. Manalmon. The panorama was of lush Bulacan’s greenery, with the river intertwining with Madlum River and a distant view of Mt. Gola’s summit. Under the midday sun, Sir Alex, ever so kind, took the role of our personal photographer, capturing each of us with the scenic backdrop.

[metaslider id=”7663″]
After spending about 30 minutes at the summit—enough time to fully embrace the achievement and let the sense of fulfillment sink in—we began our descent. This time, we opted for the easier, albeit longer, trail. It was a welcome choice, as the path was shaded and our tired legs were grateful for the less strenuous route.
Bayukbok Cave Spelunking

We made it back to the registration area around 1 or 2 p.m. and immediately headed for lunch. We hadn’t packed any, so we grabbed a bite at a local carinderia nearby. It was the perfect way to refuel after our mountain adventure and reflect on the day’s exhilarating experiences.
At 3:00 pm, our adventure wasn’t over yet—it was time for some thrilling side activities! We kicked off with spelunking at Bayukbok Cave. Leaving our belongings in the van, we equipped ourselves with just the essentials: headlights, flashlights, and cameras.
Before venturing into the cave, we gathered around for a brief on the dos and don’ts of spelunking. It’s crucial to pay close attention to your guides during this activity; spelunking can be quite risky if you don’t adhere to their instructions carefully.

From the registration area, we took a short 10-15 minute walk to the entrance of Bayukbok Cave. Right from the start, you could tell it was going to be a challenge—the cave’s entrance featured incredibly narrow passages that would definitely test those with larger frames, squeezing through the tight spaces to explore the wonders within.
Bayukbok Cave isn’t like the expansive caves you might find in Sagada; it’s a tighter squeeze, with passages so narrow that most places inside can barely fit three people at a time. There was even a section where we needed to climb using a rope—a real lifesaver given the muddy and slippery rocks underfoot.
[metaslider id=”7678″]
[metaslider id=”7684″]
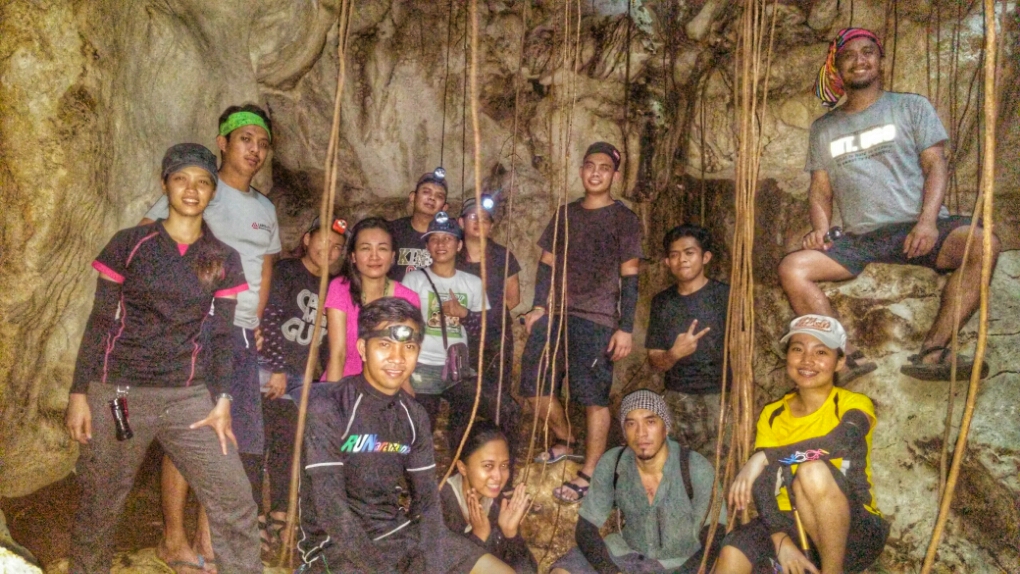
With our large group navigating through the cave, we naturally hit a few traffic jams along the way. But as we paused, waiting our turn to move forward, we made the most of it by snapping some photos. “Look on the bright side,” as they say!
Inside, the cave boasted stunning stalagmite and stalactite formations—a spectacular sight I couldn’t capture on my camera, so you’ll just have to see them for yourself! Further into our adventure, we reached a larger chamber where our entire group could gather. This spot was perfect for a group photo, a wonderful memory of our shared challenge and achievement.
The cave certainly added a dash of thrill with its ceiling of precariously stuck rocks—enough to make anyone a bit paranoid about sudden movements!
After an hour of navigating through the narrow and slippery passages, we emerged back into daylight and trekked to the registration area, ready for our next adventure: the monkey bridge. Our group was definitely riding a wave of adrenaline—no rest for the wicked, as they say!
Crossing Monkey Bridge

Initially, the idea of crossing the monkey bridge was daunting. It’s not every day you get to tackle such an exhilarating challenge, so despite my reservations, I decided to go for it. Sir Jay, always the joker, declared no one would leave until we all crossed. Well, that left me with no real choice but to face my fears head-on.

Historically, before the construction of the Madlum Bridge, the only ways to cross to the other side were by boat or via the monkey bridge, and back then, harnesses weren’t an option! Imagine the strength and bravery required to cross without any safety gear.
Thankfully, by the time of our visit, both the bridge and harnesses were available, offering us a much safer passage while still keeping the thrill alive. We truly were fortunate to experience this adventure with a bit of modern safety!


For the monkey bridge challenge, our group cleverly split into two teams positioned at each end of the bridge. One by one, a person would cross, then detach the harness upon reaching the other side, passing it back for the next person to wear and cross in turn.
This activity really hinged on mastering your balance—keeping your eyes straight ahead rather than looking down was the key to making it across smoothly.
My personal incentive was the promise of a refreshing swim in the Madlum River once I finished crossing the bridge. Each person only needed about 2-3 minutes to complete the crossing, so we moved through this activity quickly.
Swimming in Madlum River

And then, at last, it was time for our final activity of the day—swimming! After a day packed with adrenaline-pumping adventures, floating in the cool waters of the Madlum River was the perfect way to unwind. By this point, I wasn’t even thinking about taking photos anymore; I just wanted to savor the moment.
Fortunately, there were plenty of clean and well-maintained bathrooms and shower rooms available, which they cleaned after each use, making it easy for everyone to freshen up comfortably.
We left San Miguel around 5 or 6 pm and got back to Alabang by about 10 or 11 pm. Exhausted but utterly content, it was truly a day filled with fun, challenges, and fulfilling experiences!
Putik Adventures, Our Hike Organizer

Joining a hiking group can really enhance the adventure, and that’s exactly what we experienced with Putik Adventures. This organizer comes highly recommended, especially if you’re looking for well-coordinated hiking events. For a reasonable fee of 900 PHP, everything was taken care of—transportation (van transfers), guide fees, registration, and even a neat bag tag as a souvenir.
Our guides, Sir Jay and Sir Alex, weren’t just professionals; they were also former colleagues of my friend and had extensive mountaineering experience, backed by various workshops and seminars. But what really set them apart was their vibrant personalities.
They brought a fantastic sense of humor that kept us all entertained and lightened the mood during the tougher parts of our hike. Laughing together, we found that even the steep climbs and challenging moments felt easier and more enjoyable.
For anyone eager to have a memorable and fun hiking experience, I can’t recommend Putik Adventures enough. Check out their Facebook page to stay updated on their future events and maybe join one yourself. It’s a great way to make your climb fun, memorable, and just a bit easier!
Tips/Suggestions
Here are some practical tips to make your hiking adventure more enjoyable and safe:
- Start Early: Aim to start your climb as soon as there’s enough daylight. Climbing early helps you avoid the intense midday heat, allowing for a cooler ascent and an earlier descent. The less exposure to the harsh sun, the better.
- Comfortable Attire and Footwear: Wear clothes that are comfy and suitable for both hiking and swimming, so you don’t have to carry extra outfits. Choose footwear that’s appropriate for both trekking and water activities to keep your pack light.
- Pack Light: A lighter backpack means less strain on your back, making your hike more comfortable and preventing soreness the next day. For hydration, 1 to 2 liters of water should suffice for the climb.
- Light Trail Snacks: Pack easy-to-carry snacks like jelly and biscuits. These provide quick energy and are convenient to eat on the go, making them perfect for hiking.
- Sun Protection: Bring a hat and arm covers to shield yourself from the sun. Apply sunblock liberally and consider carrying a long towel to drape over your face and neck for added protection.
- Essential Gear: Don’t forget a headlight or flashlight, especially if your hike involves cave explorations. Some parts of the cave may be completely dark, and having your own light source is crucial for safety.
Expenses/Budget
900php – Putik Adventures fee (inclusive of transpo, guide fee, reg fee and bag tag)
20php – Ligo
50-100php – food around the area (this was our budget for the lunch)
P.S. Leave No Trace. I can’t stress this enough. It’s crucial to keep our natural spaces clean and beautiful for everyone to enjoy. Never throw your trash anywhere on the trail. Instead, carry a trash bag or stash your waste in your backpack until you can dispose of it properly once you’re back at the base. We all have a responsibility to protect Mother Nature.
And there you have it! That was our jam-packed day filled with climbing Mt. Manalmon, tackling Mt. Gola, spelunking through Bayukbok Cave, crossing the Monkey Bridge, and swimming in Madlum River. Whew, all in a single day!
This adventure is a perfect blend for those who love nature and thrill but are pressed for time. You get to experience so much in just ONE day.
Have you embarked on a similar adventure before? How was it? I’d love to hear about your experiences. Feel free to share them in the comments below!